
Hi All,
I decided to update some of the towels in my kitchen, but I wanted to be able to have them hang without falling off…memories to the rescue!!! My mom taught me how to put a crochet topper on a towel when I was younger to make as gifts. I had to rack my brain for some of the basics to the pattern…thank you pinterest for jogging my memory!
Here is a quick overall video of the process that I posted on Facebook and the pattern is also written out in the instructions section below:
Supplies:
- Towel
- Yarn (I used standard size 4 acrylic yarn in this example)
- Needle big enough to make a hole that will allow your needle’s eye and yarn to go through it and it has to have a big enough eye on the needle to be able to string your yarn as well.
- Scissors
- Crochet Hook (In this example I used a G/6/4.25 mm Hook depending on how yours are marked.)
- Button
- Optional – Sewing Machine/thread
Instructions:
- I first did an optional step of cutting my towel in half so that I could get 2 towels out of one. I then used my sewing machine to do a zig zag stitch along the cut edge to make sure it wouldn’t unravel as this was the side I would be adding the crochet topper to. (You can skip this step by placing the blanket stitch in Step 2 in the middle of your towel across the fold so that it has all the layers still if you desire.)
- Cut a section of yarn about 3 or 4 times the length of your area that you will be adding your blanket stitch to. Add your blanket stitch to desired location on the towel. I added mine to the side where I had made the zig zag stitches. I recommend having your towel folded as desired in thirds if that’s how you want it to hang. You would then go through all 3 layers of fabric when doing your blanket stitch to keep the folds in place while it hangs. Otherwise add the blanket stitch to the fold of your towel through all the layers, again so that it hangs the way you desire. (See video for visual explanation on placement and how to do a blanket stitch.) Tie off your yarn and bury your ends. (When making your blanket stitch make sure to have the bars at the top be a total of an even number. In this example mine was 12 bars. You can mark your stitches before hand if you choose to ensure evenness and quantity/location. I recommend 1/2 inch apart and 1/4 inch from the edge of your work.)
- Make a slip knot in your yarn and add it to one end of your work. I am right handed so I started on the left with the back of the towel facing me. Chain 3 (counts as a double crochet (dc)). In the same bar dc again. In each of the following bars dc twice across. In this example since I had 12 bars, I had 24 dc in my row. Turn work.
- Chain 3. In 3rd dc of previous row dc. Dc in each stitch until you have 2 remaining stitches from the previous row. Skip a stitch, and dc in last stitch. (This will decrease your row by 2 stitches, so for my example this row has 22 dc.) Continue in this fashion until you get 6 dc in your row.
- Chain 3, dc in each stitch across, turn repeat for a total of 3 additional rows of 6 dc for a total of 4 rows of 6 dc in all.
- Chain the appropriate length for your desired button hole size. For this example I had a larger button so I did 8 chains and then slip stitch into last dc of previous row to make my button hole. Test your hole size. Adjust if needed by going up or down in chain number. Turn work.
- Single crochet the same number that you have of chains from the previous row. Tie off. Bury ends.
- Add Button by sewing it on with yarn.
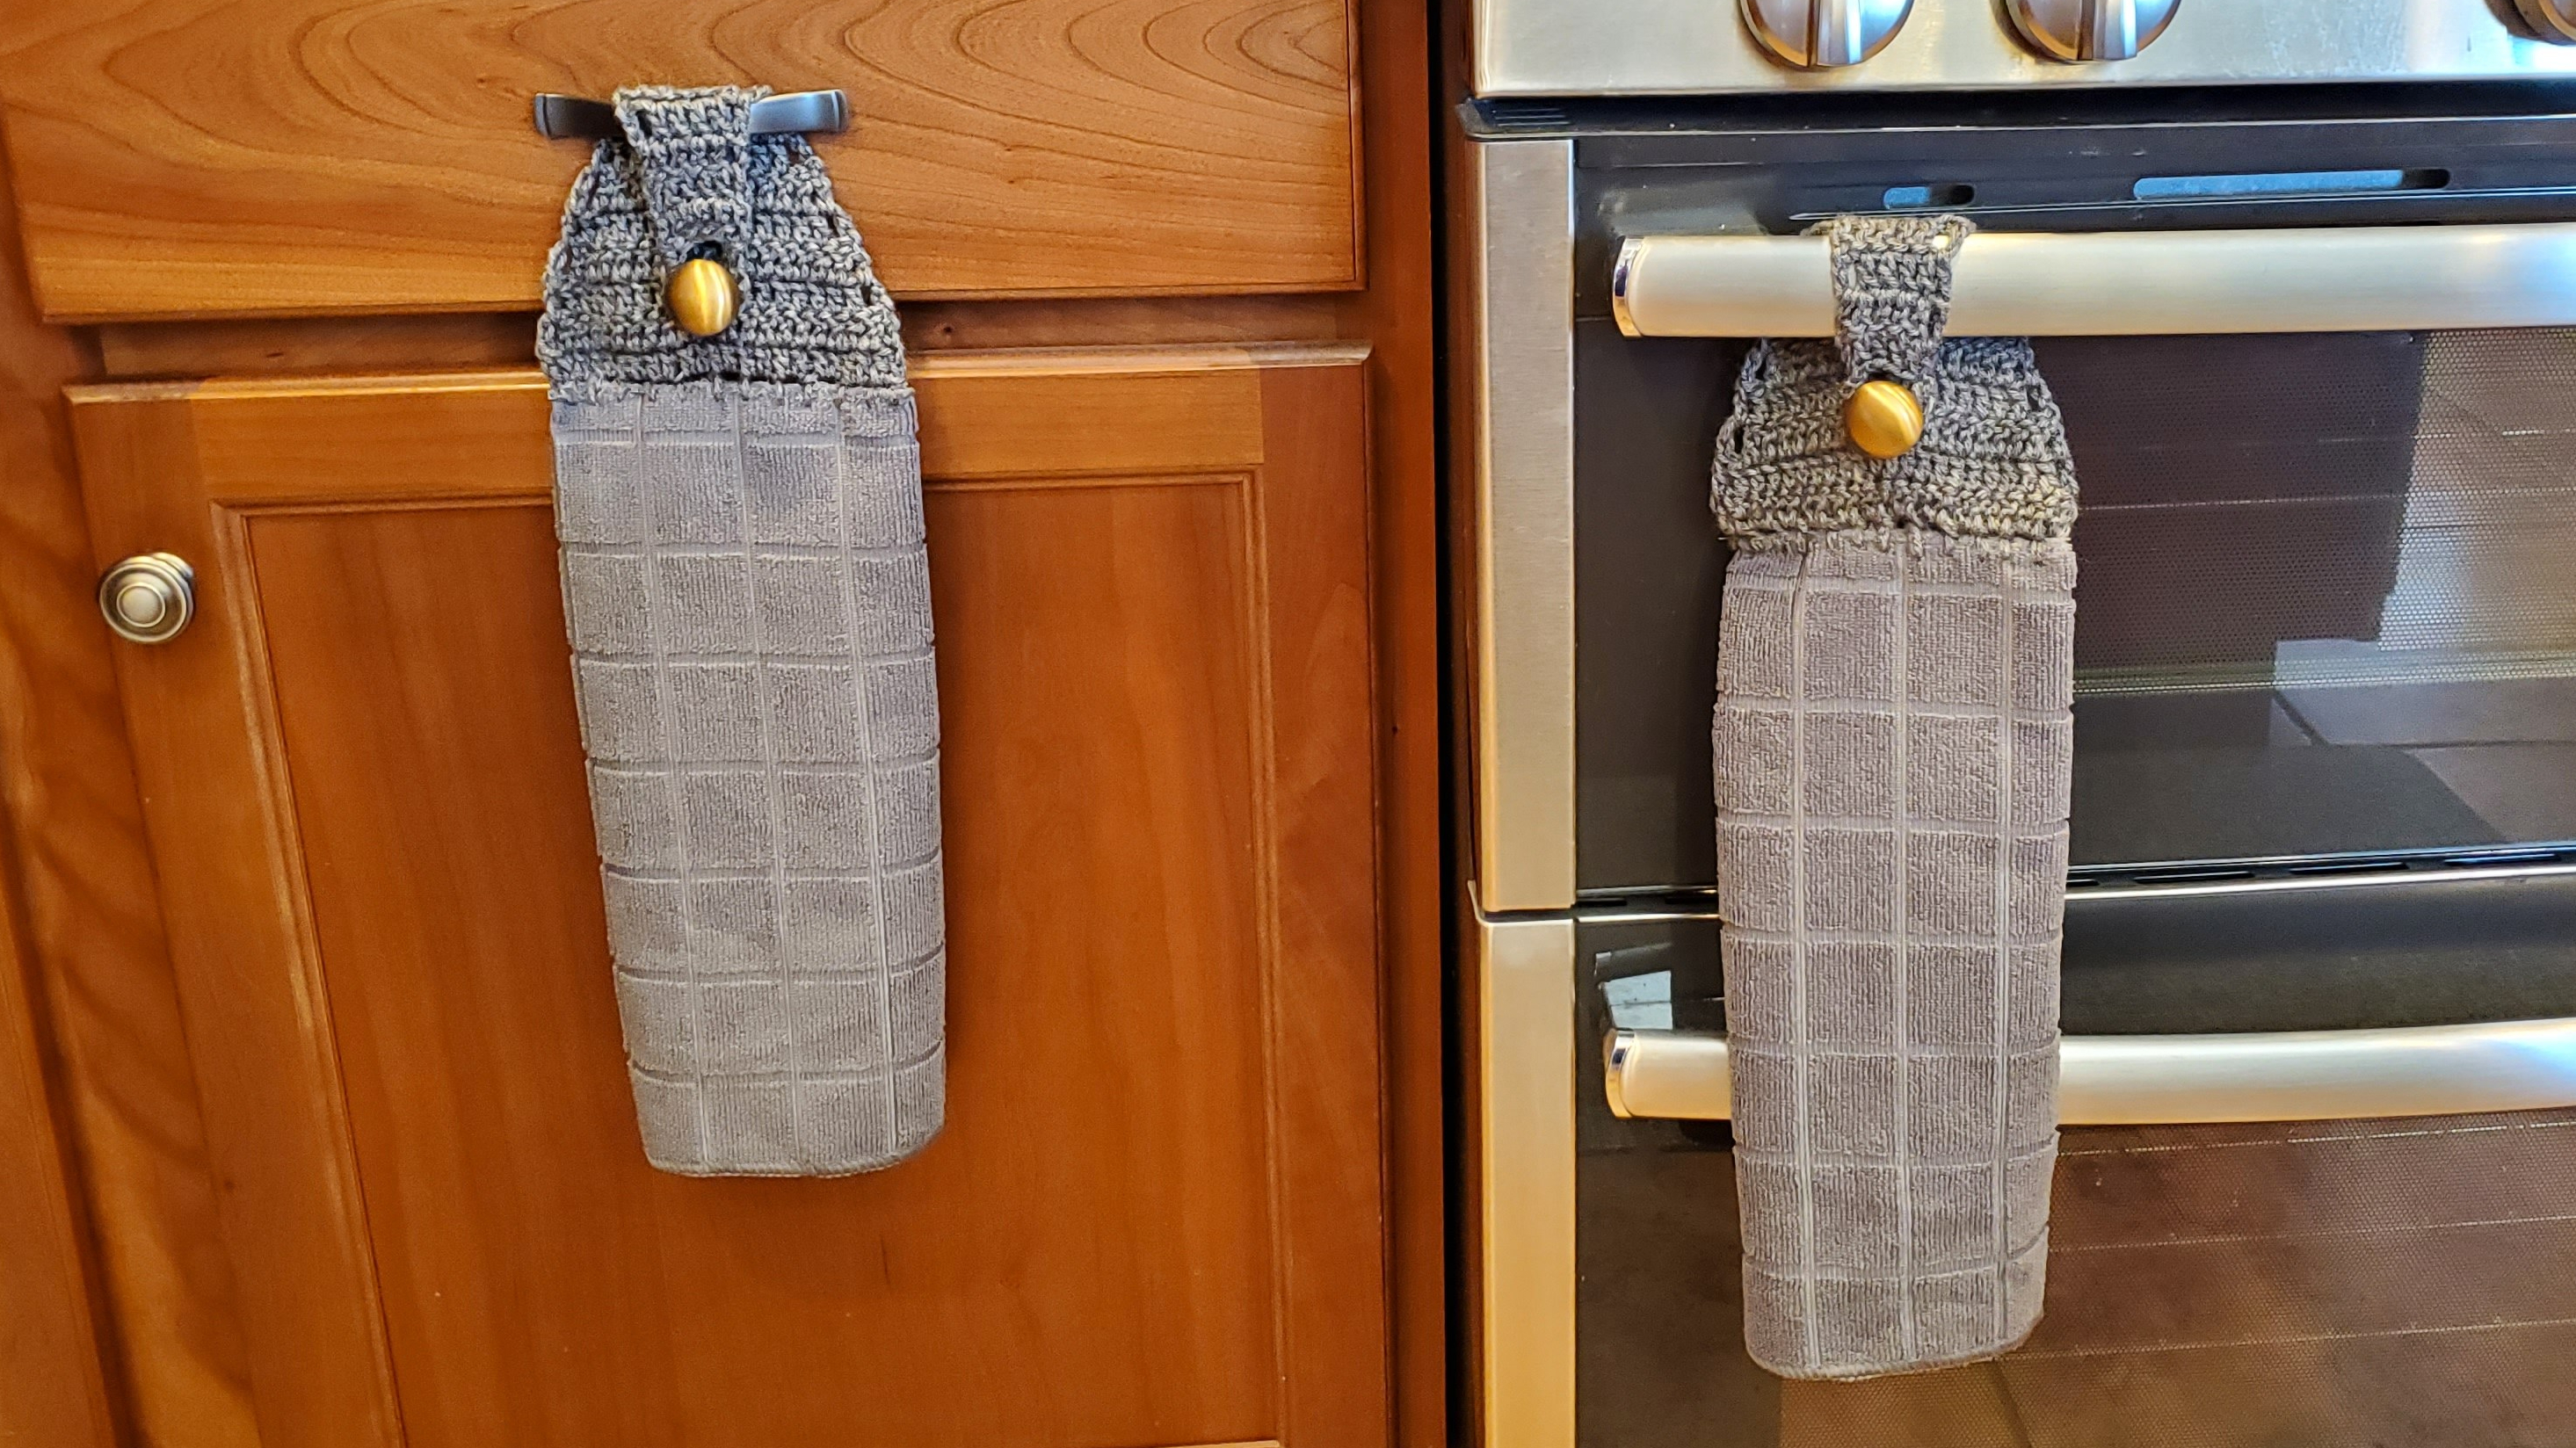
- Enjoy your new towels that won’t keep slipping off the stove or refrigerator handles! Works great on drawer pulls too!
Have a great day, and keep creating!!
